How to send an InDesign file to Printing Partners
We know — you just want your project printed, not a crash course in InDesign file prep. Unfortunately, sending only the .indd file without fonts and links is like mailing us an empty pizza box. This quick guide shows you how to package your file the right way, step by step, so it prints exactly as you expect (and saves us both a few headaches).
Why Packaging is Important
When you create a document in InDesign, the file (.indd) isn’t self‑contained. Any photos, illustrations or fonts you place are linked from wherever they are stored on your computer. If you simply email the .indd file, the recipient won’t see any of those linked assets, and missing fonts can cause unexpected text reflow. InDesign’s Package feature copies all of the fonts, graphics and other supporting files into a single folder so everything opens correctly on our end. Compressing this folder to a .zip keeps it together for uploading.
Step‑by‑Step Instructions
1. Open your InDesign document
Launch Adobe InDesign and open the file you intend to send. Make sure all edits are complete and saved.
2. Choose File → Package
From the top menu bar, click File, then select Package… from the dropdown. The Package option gathers everything your document needs into one folder.
3. Review the Package Summary
A dialog will appear showing a summary of your document’s fonts, links and other resources. This is a confirmation that nothing is missing. Simply click the Package… button at the bottom of this window to continue.
Tip: If the summary lists any missing fonts or links, stop and replace or relink them before proceeding. Packaging will not fix missing assets.
4. Create the Package folder
The next window lets you choose where to save the packaged folder and which items to include. To make sure nothing is left behind:
Choose a location on your computer that you’ll remember (e.g., Desktop).
Give the folder a name that clearly identifies your project.
Check every box:
✅ Copy Fonts (InDesign will exclude Adobe Fonts you activated through Creative Cloud; that’s okay)
✅ Copy Linked Graphics
✅ Update Graphic Links In Package
✅ Use Document Hyphenation Exceptions Only
✅ Include Fonts and Links From Hidden and Non-Printing Content
✅ Include IDML (so we can open it in earlier versions)
✅ Include PDF (Print) — leave the preset at High Quality Print
When all options are checked, click Package at the bottom.
Other Helpful Links

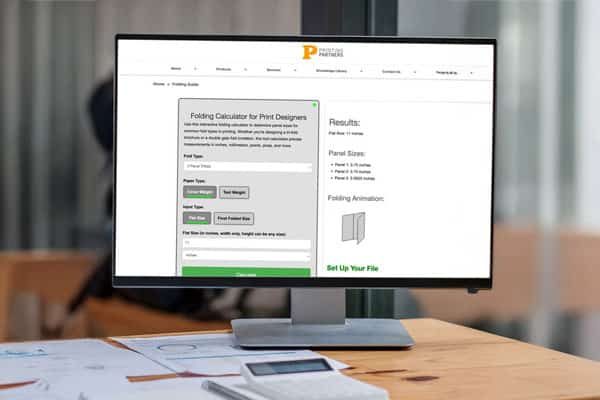
Folding Calculator
Folding layouts can be tricky — our calculator makes it easy. Quickly figure out panel sizes and fold styles like tri-fold, Z-fold, or gatefold so your design lines up correctly and prints without surprises.

Paper Types Explained
Discover the differences between coated, uncoated, matte, and gloss paper stocks. Learn how paper weight and finish affect the look, feel, and durability of your printed piece so you can choose the right option for brochures, books, or marketing materials.

Binding Types
From saddle stitch to perfect bound and Wire-O, each binding style creates a different look and level of durability. Explore which binding method best suits your booklet, catalog, or publication so your project is both functional and professional.