What is varnish in printing and its types
In the realm of printing, varnish is a special coating applied to your printed materials, either during the printing process or afterwards. It serves a dual purpose: not only does it enhance the visual appeal of the printed item, but it also provides protection against scuffs, scratches, and damage from moisture or chemicals. There are several types of varnish used in printing, each with its own unique set of properties and applications. Now, let's explore these in detail.
Varnish is typically composed of a resin, a drying oil, a solvent, and sometimes a thinner. The resin, which forms the 'body' of the varnish, combines with the drying oil to create a hard, glossy film. The solvent is used to adjust the thickness of the varnish for easier application, while the thinner is used to clean up any excess varnish.
What is Spot Varnish Printing?
Spot varnish is a specialized type of varnish coating that's applied to a specific area of the page, hence the term 'spot'. This technique is often used in printing to draw attention to certain elements such as photos, text, or design features. You can choose between a glossy or dull finish for your spot varnish, depending on the effect you want to achieve.
Spot varnishes require a unique printing plate, giving you control similar to that of a spot color. They can be solid or screened, and can even be tinted for special effects. Furthermore, we can combine dull and gloss varnishes, allowing you to have both finishes on a single piece.
What is Flood Varnish?
Flood varnish, in contrast to spot varnish, is a type of varnish coating that covers the entire surface of the printed sheet. This technique can be used with either a gloss or dull finish, depending on the desired effect. At Printing Partners, we have a wealth of experience with flood varnish printing, and we can guide you through the process to achieve the best results for your project. We recommend discussing the use of flood varnish early in the design stage to ensure it's incorporated effectively.
Setting up your artwork for flood varnish is straightforward. Unlike spot varnish, no special setup is needed in your art file. The varnish will be applied across the entire surface of the print, enhancing the overall look and feel of your printed piece.
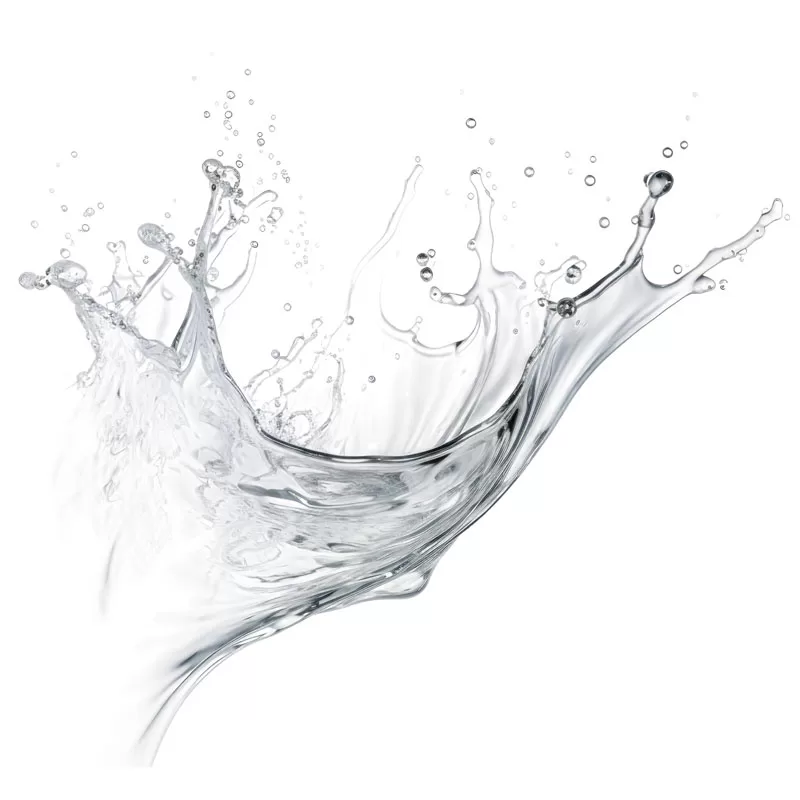
What is Aqueous Coating?
Aqueous coating is another option we offer at Printing Partners. Different than varnish; this is a water-based protective coating that can be applied in high gloss, satin, or matte finishes. Aqueous coating is known for its fast-drying properties, making it a cost-effective solution that can speed up the printing process. Not only does it enhance the visual appeal of your printed piece, but it also adds durability, making it a great choice for products like postcards that need to withstand handling.
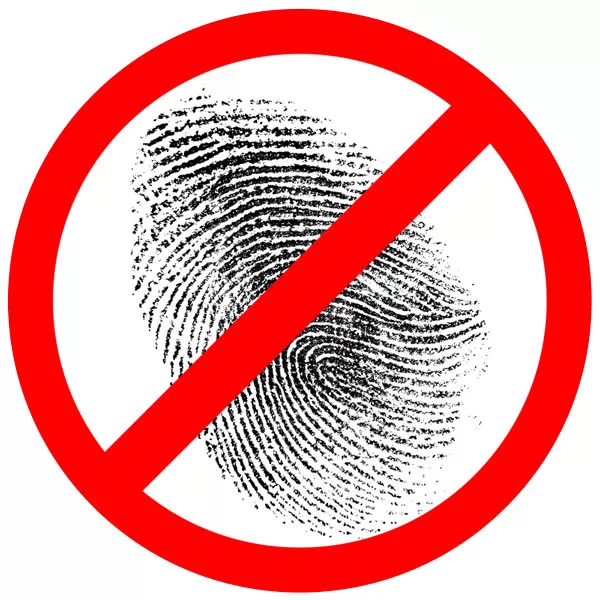
One of the advantages of aqueous coating is that it's environmentally friendly. Being water-based, it's safer for the environment and for people than some other types of coatings. It's also resistant to smudges and fingerprints, which can help keep your printed pieces looking their best. And because it dries quickly, it can help keep your project on schedule.
Setting up your artwork for aqueous coating is straightforward. No special setup is needed in your art file. The coating is applied as part of the printing process, so all you need to do is specify that you want it when you place your order.
What is Ultra Violet or UV Coatings?
UV coatings are a standout option for those seeking a high-contrast and durable finish. These coatings are applied as a clear liquid to the paper and then cured or dried using ultraviolet (UV) light. UV coatings can provide an ultra-gloss or a dull matte appearance, depending on your preference. They can be applied as a flood coat covering the entire surface, or as a spot coating to highlight specific areas.
UV coatings are known for their superior durability compared to other coatings like aqueous coatings. They offer excellent resistance to wear and tear, making them a great choice for printed materials that need to withstand heavy handling. UV coatings also provide a stunning visual effect, enhancing the vibrancy of colors and adding depth to images.

What is Motion Coating?
Looking for a unique way to make your printed materials stand out? Consider our motion coating option. This innovative technique allows us to create dynamic, hologram-like effects on your printed pieces, such as logos that seem to move or steam that appears to rise from a coffee cup. With custom patterns, we can enhance your graphics in ways that truly set them apart.
Motion coating is a specialized process that requires careful planning and execution. That's why we recommend discussing this option with your Printing Partners sales representative early in the design stage. They can guide you through the process and help you make the most of this exciting feature.
Whether you're designing promotional materials, product packaging, or any other printed piece, motion coating can add an element of surprise and delight that captures attention and leaves a lasting impression. Contact us today to learn more about how motion coating can elevate your next printing project.
What is Print Lamination?
At Printing Partners, we offer top-notch lamination services that can add a protective layer to your printed items. Our lamination options include High Gloss laminate, Dull or Matte laminate, and the silky smooth Soft Touch laminate. These laminates not only enhance the visual appeal of your prints but also provide excellent protection, making them more durable and long-lasting.
Whether you're running a small or large press run, our lamination services can be applied to all sizes. This flexibility allows us to cater to a wide range of printing needs, ensuring that your printed items always look their best and stand up to the rigors of use.
Thank you for taking the time to learn about the types of varnish and varnish printing at Printing Partners. We're dedicated to providing you with the best printing solutions, and our lamination services are just one of the many ways we do that.
If you'd like more information on varnish printing, varnish coating, spot varnish printing, paper varnishing, or our lamination services, don't hesitate to request an estimate or get in touch with us today. We're here to help you make the most of your printing projects.