
Creating Die Files:
A Comprehensive Guide to Precision Printing Techniques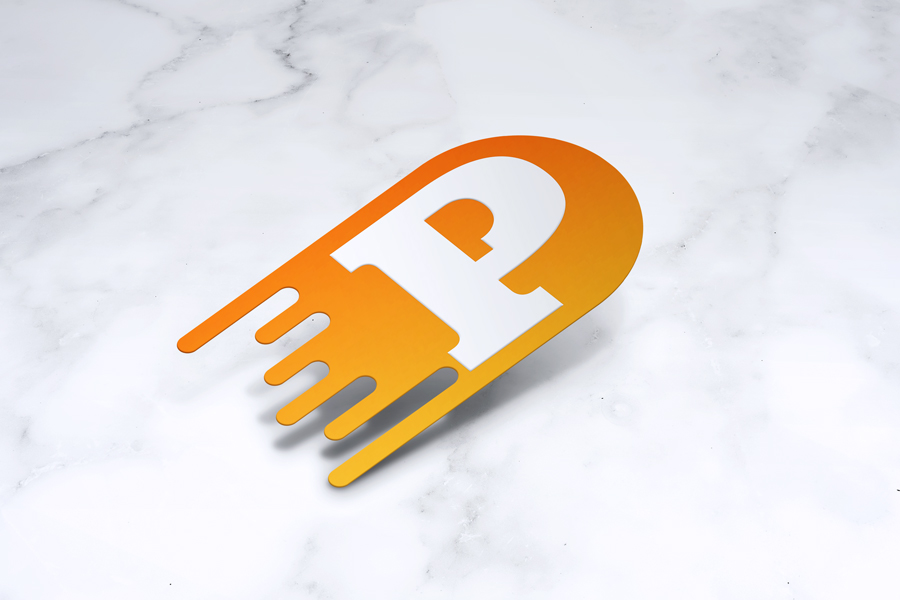
Understanding Die Files
Advanced Die Technologies
Artwork Preparation for Sculpted Dies
Creating Die Files in Design Software
When it comes to preparing die files for cutting, foil stamping, and embossing, the process involves a blend of technical precision and creative artistry. Each project presents its own set of challenges and opportunities, depending on the type of paper and the complexity of the design. At Printing Partners, we encourage you to collaborate directly with our team to ensure your artwork is feasible for the intended die application. Here’s how to start creating your die files using popular design software like Adobe Illustrator or InDesign:
-
Set Up Your Document: Begin by setting up your document to match the final print specifications. This step is crucial for ensuring that the die file aligns perfectly with your project's dimensions.
-
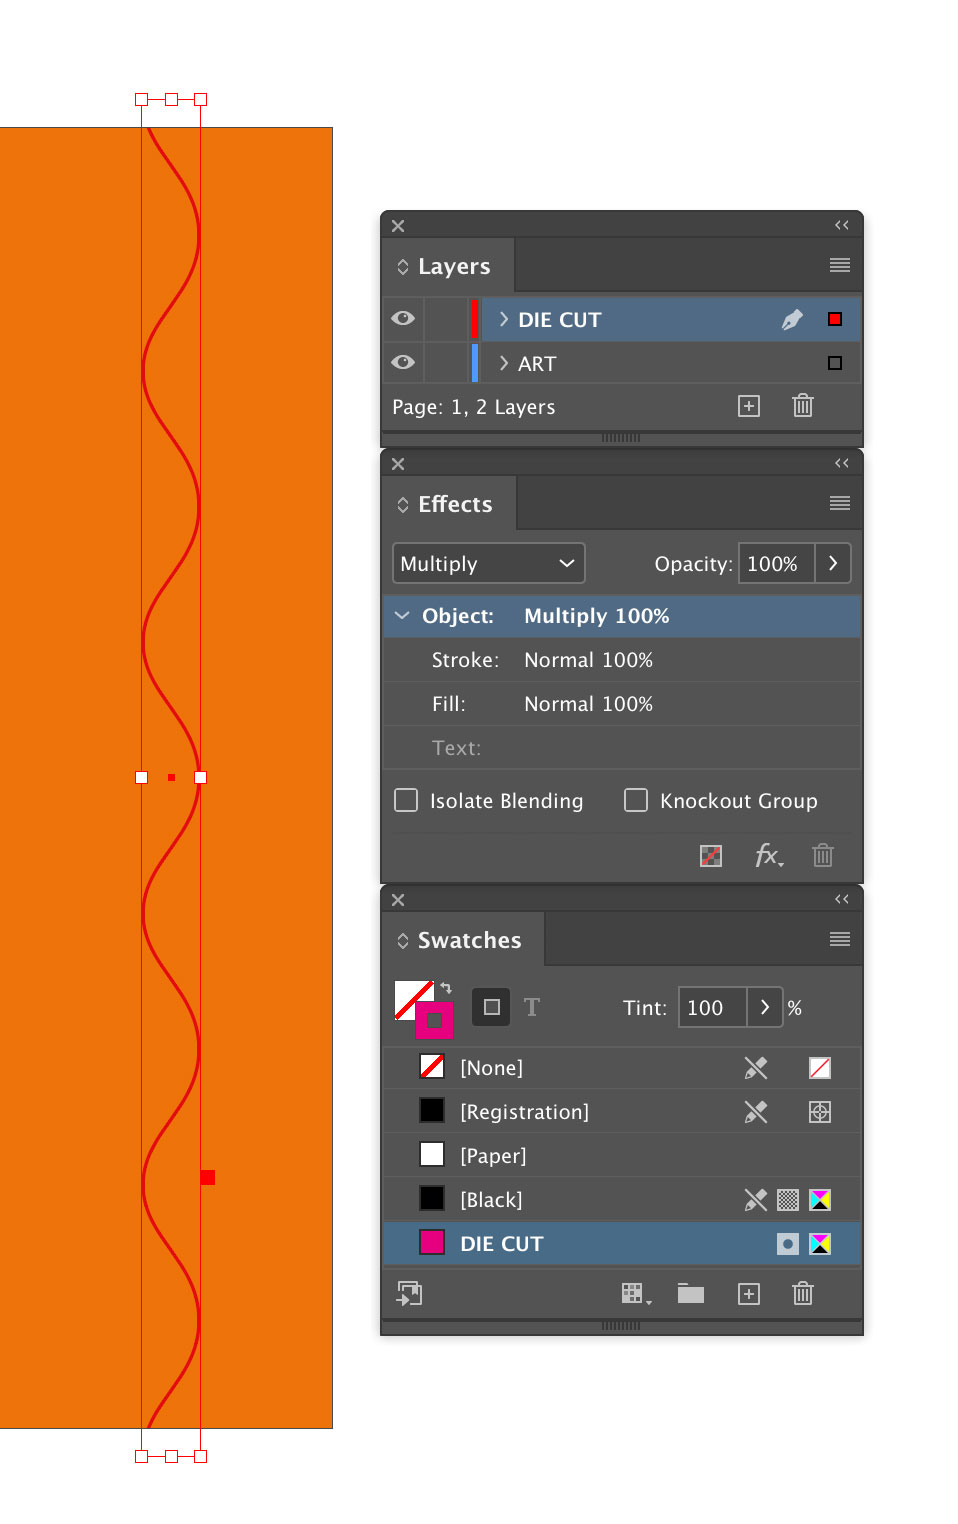
Draw the Lines:
- For die cutting, use solid lines to indicate where the material will be cut through.
- For folding lines, apply dotted lines.
- For foil stamping, designate the foil areas with a unique spot color named “FOIL STAMP.”
- For embossing, use a separate spot color named “EMBOSS” to clearly indicate the areas to be raised.
-
Layering: Place all die lines on a separate layer within your design file. Adjust the layer’s transparency to 'Multiply' to ensure no white lines interfere with the final print. This setting is especially important for non-cutting applications like foil stamping or embossing where clarity and precision are key.
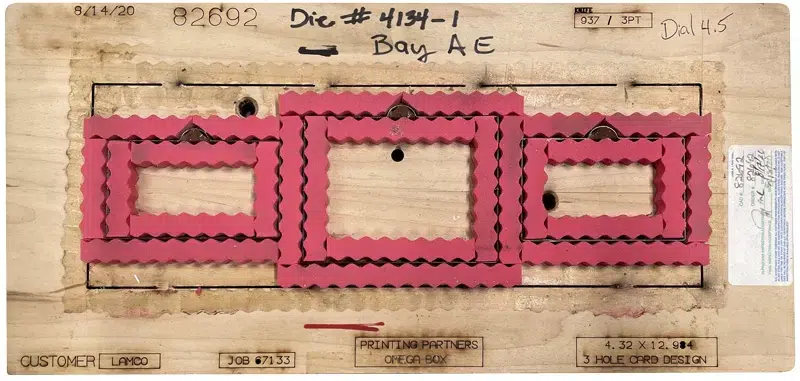
Types of Dies and Their Applications
We offer various types of dies, including:
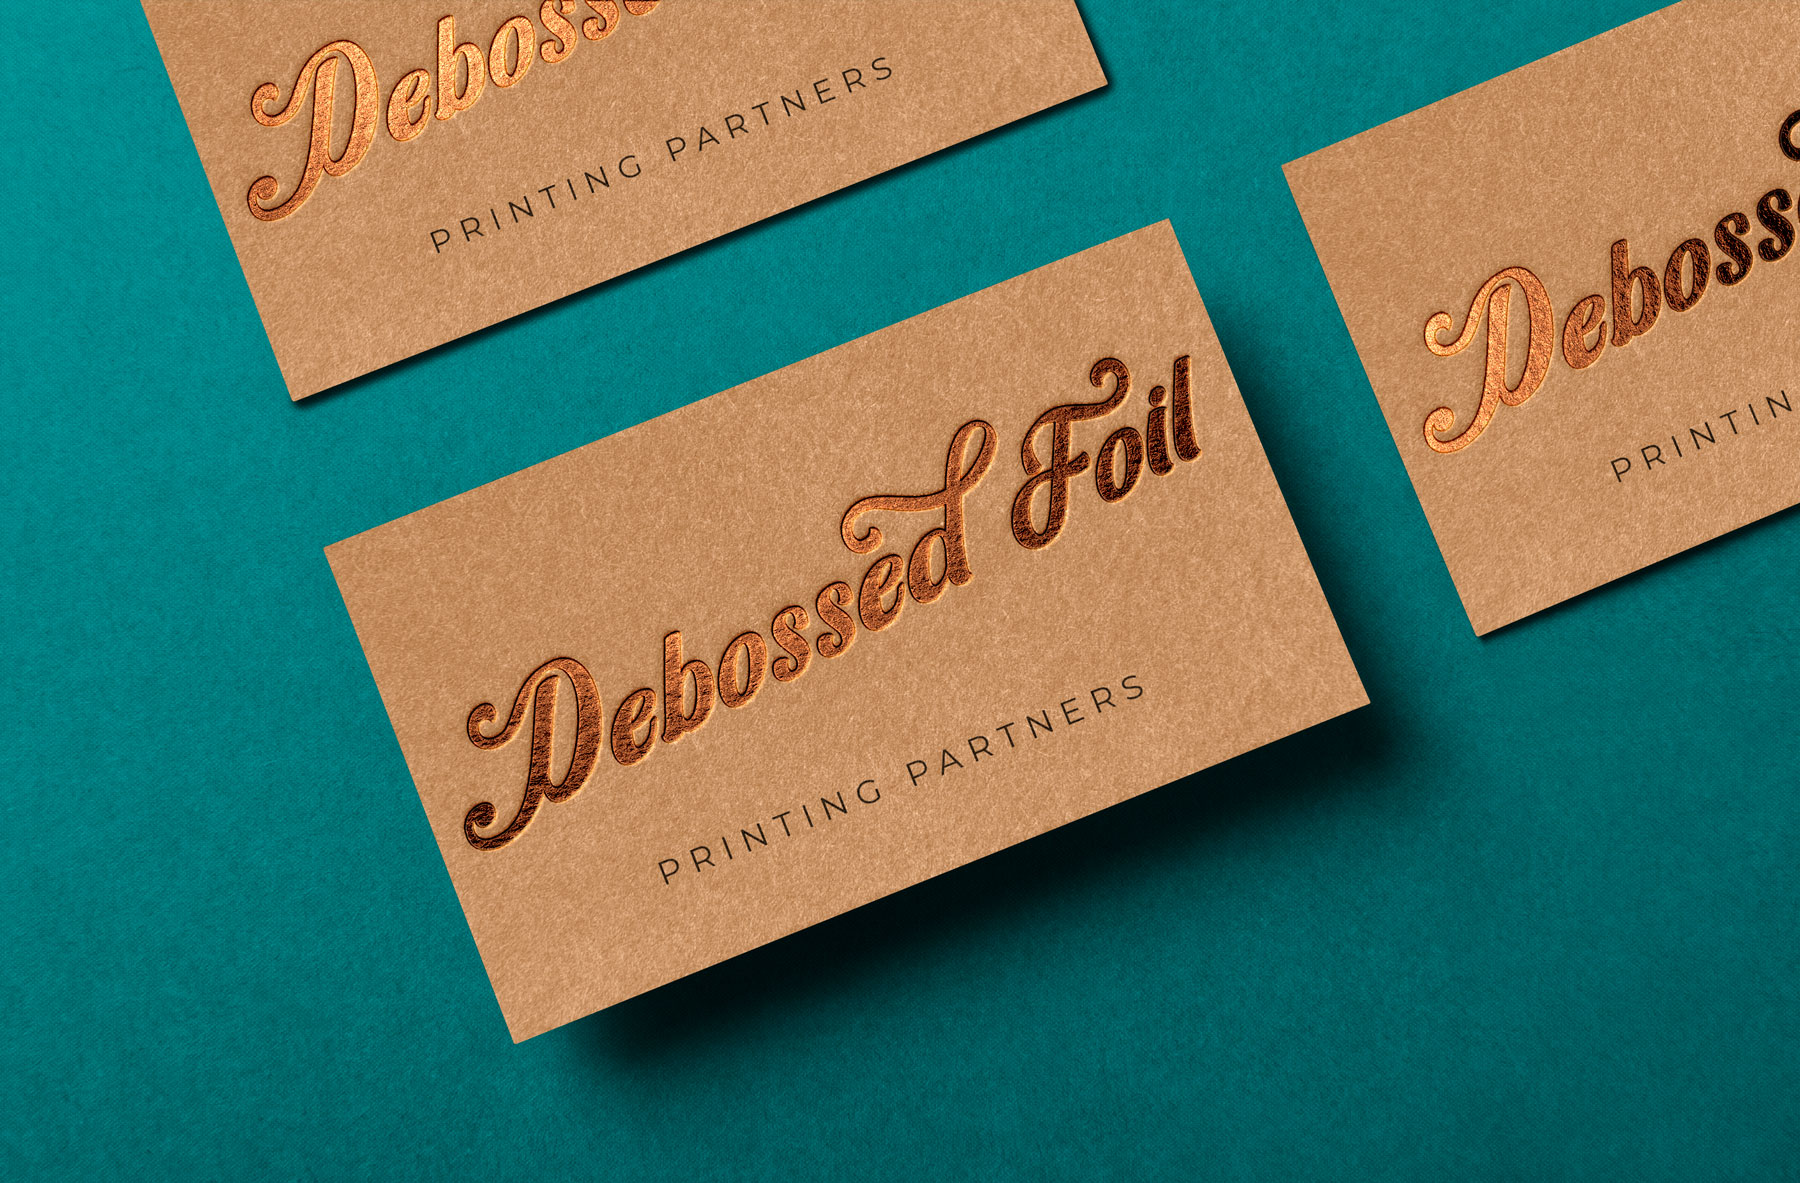
- Embossing and Debossing Dies: Ideal for creating raised or recessed areas in your print, available in single or multi-level, detailed on our embossing page.
- Foil Stamping Dies: Enhance your prints with beautiful foil applications detailed on our foil stamping page.
- Combination Dies: Combine different techniques for a unique effect.
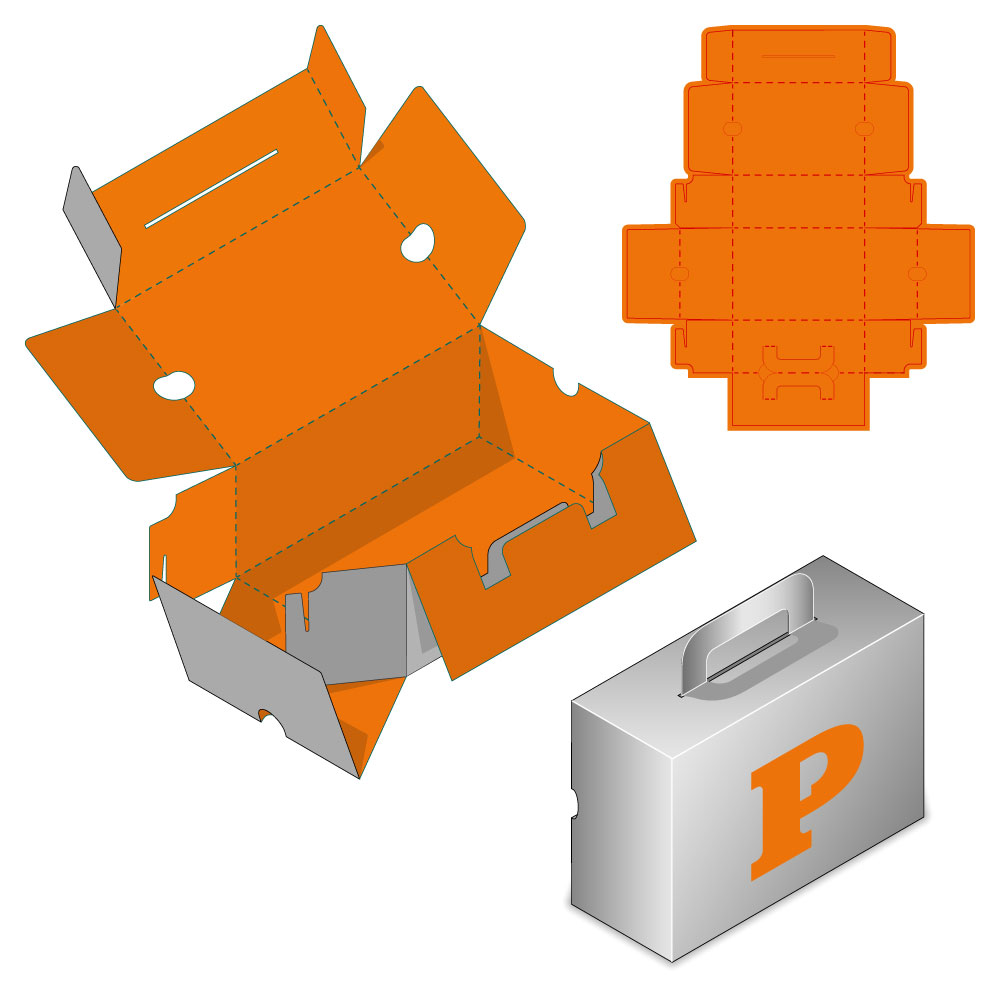
Mock-Ups and Proofing
Before finalizing your die file, create a full-scale mock-up. This step ensures that your vision perfectly translates from file to print, avoiding costly mistakes.
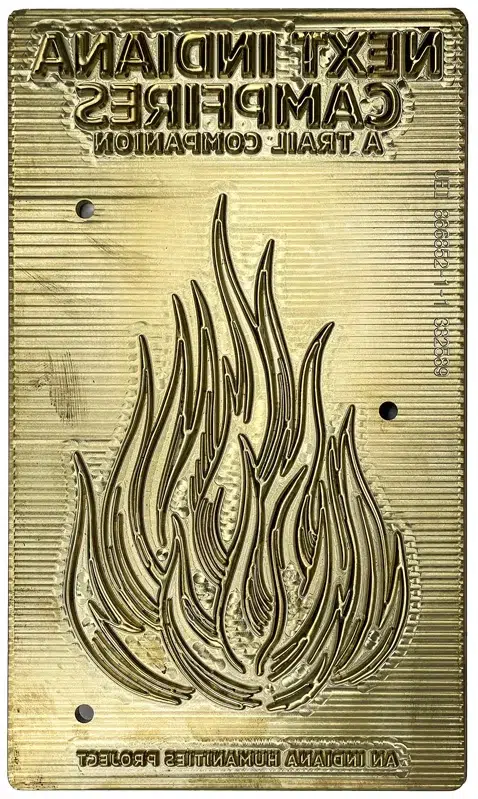
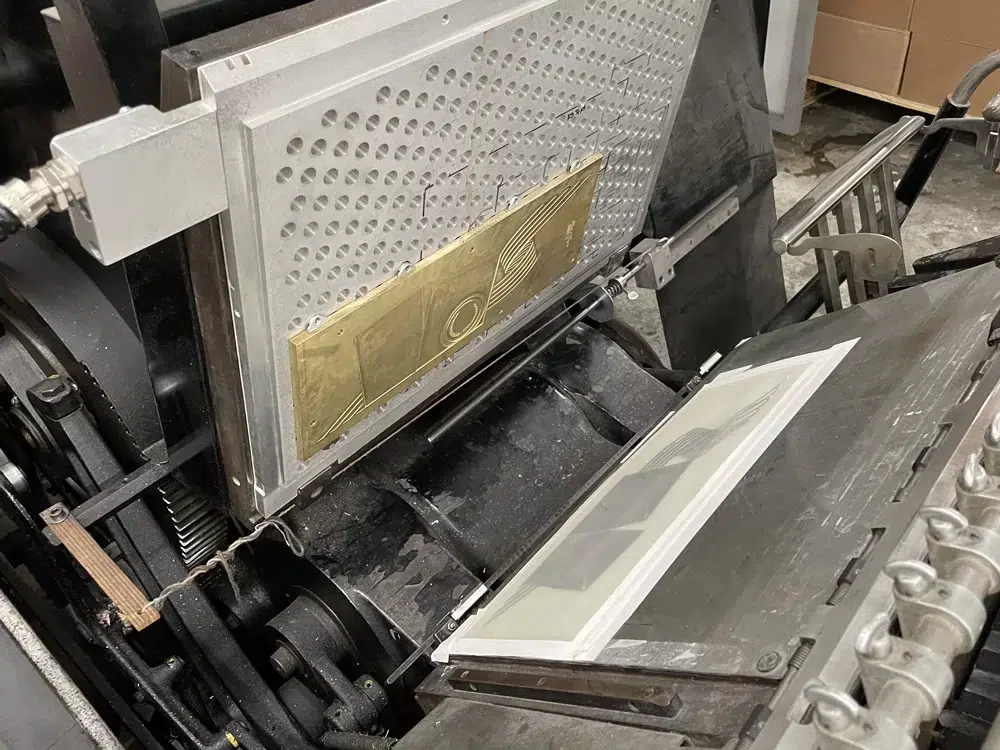
Material Advantages: Brass and Copper
Using brass and copper in die making offers durability, precise detail, and superior heat retention for consistent foil transfers. These materials' low expansion rates ensure accurate registration, making them ideal for intricate, high-quality prints.