
What is Printing Bleed in Commercial Printing and How to Use It.
What is a Bleed in Commercial Printing?
A bleed is an essential concept in commercial printing. It is extra image, background color, or design elements that extend beyond the trim edge of the printed page, ensuring no white edges appear on the final product. This technique guarantees that all parts of the design remain visible, even on the edges.
To achieve this, you need to create artwork with bleeds. This means your artwork should have extra elements extending beyond the page edges so it can be trimmed down and still look perfect. Usually, a standard bleed for commercial printing is 0.125 inches (1/8th inch) on each side. This ensures no white edges on the finished product after trimming and accommodates any small misalignment during cutting or trimming.
Designing with bleeds also involves ensuring all important text or images are kept at least 0.125 inches inside from all four cut sides of the document’s boundaries as these will get cut off when trimmed. Therefore, all critical elements of your design should be securely inside these boundaries to avoid being lost during trimming or cutting.
Creating artwork with bleeds can be challenging, especially with complex designs or intricate details. Consulting professional help is advisable to ensure accuracy and precision when working with bleeds in commercial printing projects. This will help achieve high-quality results and prevent costly mistakes due to incorrect designs or calculations.
Why is Bleed Important?
Cutter Draw:
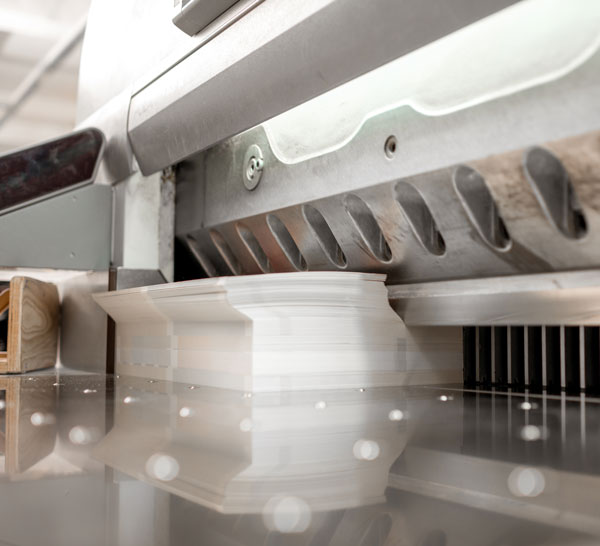
When cutting large stacks of paper, slight movements, known as cutter draw, can occur. This can cause slight misalignments, resulting in unwanted white edges on the final printed product. Bleed ensures that even with these slight shifts, the design still extends to the edge without any white showing.
Humidity:
Paper can expand and contract with changes in humidity. This slight change can affect the alignment of the paper during printing and cutting. By including a bleed, you can accommodate these variations and ensure that the design remains consistent to the edge of the paper.
Trimming Precision:
Even with modern cutting technology, there can be slight deviations during the trimming process. Bleed acts as a safety net to account for these deviations, ensuring that the design still covers the entire printed area without any gaps or white lines.
Professional Appearance:
Bleed contributes to a polished, professional appearance by eliminating the risk of white borders. This is crucial for maintaining the integrity and visual impact of marketing materials, business cards, brochures, and other printed products.
Consistency:
Using bleed helps to ensure that the colors and design elements match perfectly from edge to edge, providing a seamless look across different prints. This consistency is essential for maintaining brand identity and professional standards.
Conclusion:
Including bleed in your designs not only improves the visual quality of your printed materials but also helps to avoid costly reprints and ensures that the final product meets professional standards. By extending your design elements beyond the final trim size, you can guarantee that the entire design is visible and intact, even with slight shifts during the cutting process .
How to Add Printer Bleed in InDesign
Adding printer bleed to your documents in InDesign is straightforward. Follow these steps to ensure your documents look professional and are printed correctly:
- Open the document in InDesign.
- Select the ‘File’ menu, and then select 'Document Setup'.
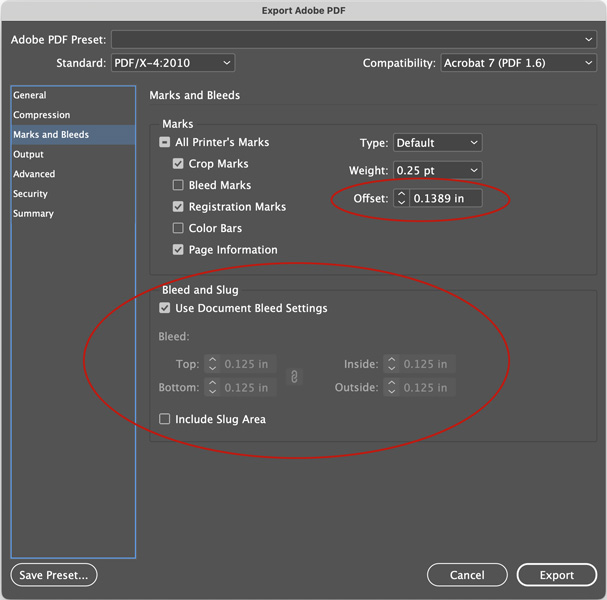
- In the 'Bleed and Slug' section, enter a value of 0.125 inches or higher for all four options (Top, Bottom, Left, Right). This defines how far elements should extend beyond the page edges before being cut.
- Click 'OK' to set up your bleed values.
- Create or move elements so they are at least 0.125 inches away from all four edges of the artboard/page size (excluding objects bleeding outside). If space constraints prevent this, consider shrinking the element or substituting a different one.
- When satisfied with your design, export it as a PDF/X-1a file to ensure your bleeds are recognized in the print-ready PDF.
New Indesign Document with Bleed

New Indesign Document with Bleed
Tips and Tricks for Designing Artwork with Bleeds
When designing artwork with bleeds, consider these tips to ensure precise and beautiful results:
- Determine Bleed Size: A standard bleed for commercial printing is usually 0.125 inches (1/8th inch) for each side, but adjust accordingly based on your project's size to keep all margins within the set boundaries.
- Keep Important Elements Safe: Ensure all important text or images are at least 0.125 inches away from the document’s boundaries to avoid being cut off during trimming.
- Use Grids: Grids help create precision and accuracy in the placement and sizing of elements. They also ensure consistency between different printed products.
- Consult Professionals: If unsure about your design's bleed setup, consult professional help or use software like Adobe InDesign or Corel Draw, which have tools to check if your design meets industry standards before printing.
Following these tips will help you create designs with accuracy and avoid costly mistakes due to incorrect designs or calculations.