
Guide to Variable Printing
With proper organization, variable data isn’t difficult. Preparing and gathering the data is the aspect of personalized printing that requires time and careful planning. If you need variable printing Indianapolis, contact us.
How to design your project
Designing and creating a variable data piece does not require special software. You can design and create a variable printing job using any application that can produce a print-ready PDF. Applications like InDesign, Quark, and even Publisher can be used. Photoshop does not work, it rasterizes the text and we can’t select it once it is made into a PDF.
What do you need to get started
This can be a big or small list depending on what you are doing. Basically, you just need a design and a data file. What is included in the database file makes it personal.
One of the best pieces of advice we can give to you, is to be consistent. Each element that we will discuss in a moment, may need to be listed in your final database. If you are consistent in naming the files, it will be easier for you to enter them into the database and easier for you to keep track of.
Design Files
When you send us your final design, you can send one or both of these formats, either a high-resolution PDF or the open files. If the personalization is simple, say placing the mailing address, then a PDF is fine. The more complex the personalization becomes, more text fields and graphics, the more useful the open files are. If you are not sure which to send, send both or talk to your salesperson about variable printing Indianapolis and they can help you with the decision.
Database Files
Database files are created in whatever program you are most comfortable, our preference is Microsoft Excel. Any program that keeps records and fields organized and can output to a Tab Delimited text file will work. The most important aspect to remember is to keep the column header names the same as the labels you use in your design file. This is very important, so that as we set-up the personalization the correct fields match-up.
Specification for graphics
Personalization doesn’t just have to be text, it can also be images and graphics. For photos or scanned art the JPEG format will work the best. The files need to be high resolution (300dpi at 100%) and they should be CMYK. The biggest thing to remember is that the images all need to be the same size (inches and dpi) and should be cropped and sized to fit in their picture boxes without scaling or offset. When we place photos in personalization, they must all be placed in the document using the same set of rules. If the first picture is placed at to fill, then they all have to be placed to fill. If the first image is centered in its picture box, then they all have to be centered. You can’t treat each image separately.
You can also place Illustrator or vector images. They need to be saved as an EPS. They will be placed with the same rules as we use for photos, what happens to one, happens to all.
Text Resources
If you are using variable text, be aware that Excel has a character limit for cells, so if you are replacing paragraphs, Excel may not work for you. In this case you will need to use a program like Word to create a document for each paragraph or large block of text. Do not worry about formatting the text, that will be done at personalization. And the file type must be text (“.txt”), not a standard word document (“.doc”).
Multiple designs, versions or layouts
You can change entire designs with variable printing. Take the example, if you are making postcards for men and women, the men get blue cards and the women get pink. You can specify that in your data set. Just create a PDF or send the open files for each design, but remember the designs must all be the same size. This type of personalization can become very complex, very quickly. If you are considering this type of project, you might want to talk with your salesperson and set-up a meeting with our variable printing staff. We can help you avoid some of the potential problems you might face, before you get to them.
Bringing it all together
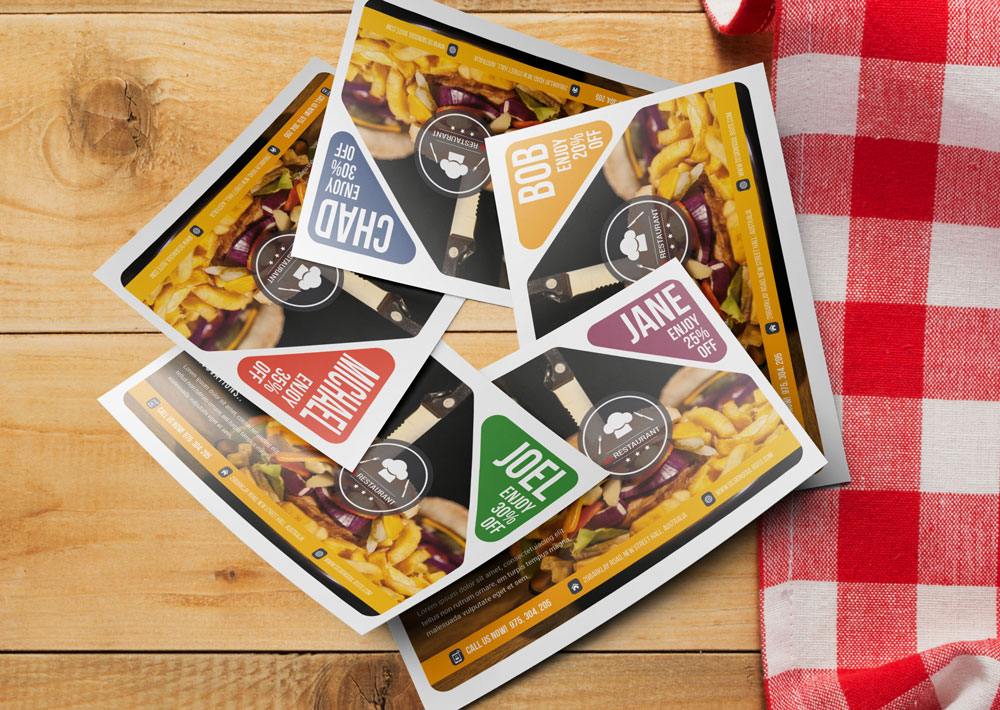
This is the part that brings everything together. On your design, choose a Name for each field that is variable, and use that name in place of real data. For instance if you are addressing a letter, instead of having “Dear Bob,” your design file would read “Dear <<First Name>>,”. The “Dear” and “,” are printed on every letter, while “<<First Name>>” is pulled from the database. By using the “<<” to begin and “>>” to end shows the operator where the variable data goes and the name in between the marks indicates which field (column) in the database the information is pulled from variable printing Indianapolis.
If you are using variable photos or illustrations, we will use the same technique. Mark your picture box with the name of the corresponding column in your database. (example: <<Photo-1>>). Now in your database under the Photo-1 column you will place the name of the photo with the extension. So if the images are all JPEG files a record might read “sunset.jpg”. Remember the names in the database must match the file names for the documents, if they don’t, then they won’t link up and won’t print.
If you are replacing blocks of copy, we use the same technique that we used with the photo. We indicate where the block of text goes “<<Paragraph 1>>” and then have a Column heading called Paragraph 1. Under that column we will list which text document to select such as “mens-text.txt”.
To switch layouts, have a column named Layout and indicate in each record the name of the layout you want “<<blue.pdf>>”. On your printouts label which layout is which, if you have sent PDFs name them accordingly.
Just follow this basic set-up for every piece of data you are using in your piece. Organization, consistency and communication are the keys to success.
Sending us the files
If you have tried variable printing before you are aware of how important organization is. One of the first steps in sending us your files would be to run printouts of your designs, marking the variables with a highlighter helps you see the fields to make sure everything is accounted for. Match up the fields from your printouts and database, and make sure each record has an entry for each column. Blank records will create problems. Variable Printing Indianapolis.
The second step would be to organize the files you are sending to us, place all the photos in a folder and label it “Photo-1”, the name of the folder should match the column name in the database. This way we know which set of photos are the photos for “Photo-1”. Do the same with Text files and layouts.
Send us a set of printouts, or if that isn’t possible, place labels on your PDF files or place labels on our Design file, we will remove the labels before we print. Remember, by the time you get to this point in your project it is obvious to you how everything goes together, because you have been working with it for awhile. We are just getting started with your project, so you must tell us everything we need to know about it, labeling the files or printouts is a great way to communicate this information to us. Did you ever play telephone when you were a kid? By the time the original message came back to you it was not what you started with. The same can happen to your personalization project. Don’t let that break-down in communication happen, you have worked long and hard on making the project perfect.
If you have any questions, please do not hesitate to call your Salesperson or CSR, we are here to help you with your variable printing Indianapolis questions.
A downloadable PDF guide to preparing variable printing jobs.
[– Download our variable printing guide –]