When you make a document in InDesign, the file is only one part of it. Any pictures, graphics, or fonts used are linked to the file from outside. In order for others to be able to open the document and see all of the parts correctly, you must use InDesign’s packaging feature. Packaging will copy all linked components into a folder, ensuring that anyone who opens the file can see it as intended. This is an important step to take when sending files to be printed or shared with others. InDesign’s packaging feature is straightforward and easy to use.
When packaging an InDesign file for printing, you will need to do the following:
- Open the InDesign file and then select
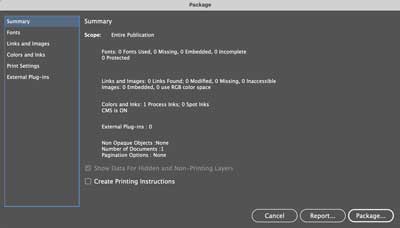
File>Packagefrom the menu bar. - A Package dialog box will appear with a list of items that must be included in the package. Make sure to check all items before continuing. Click on the
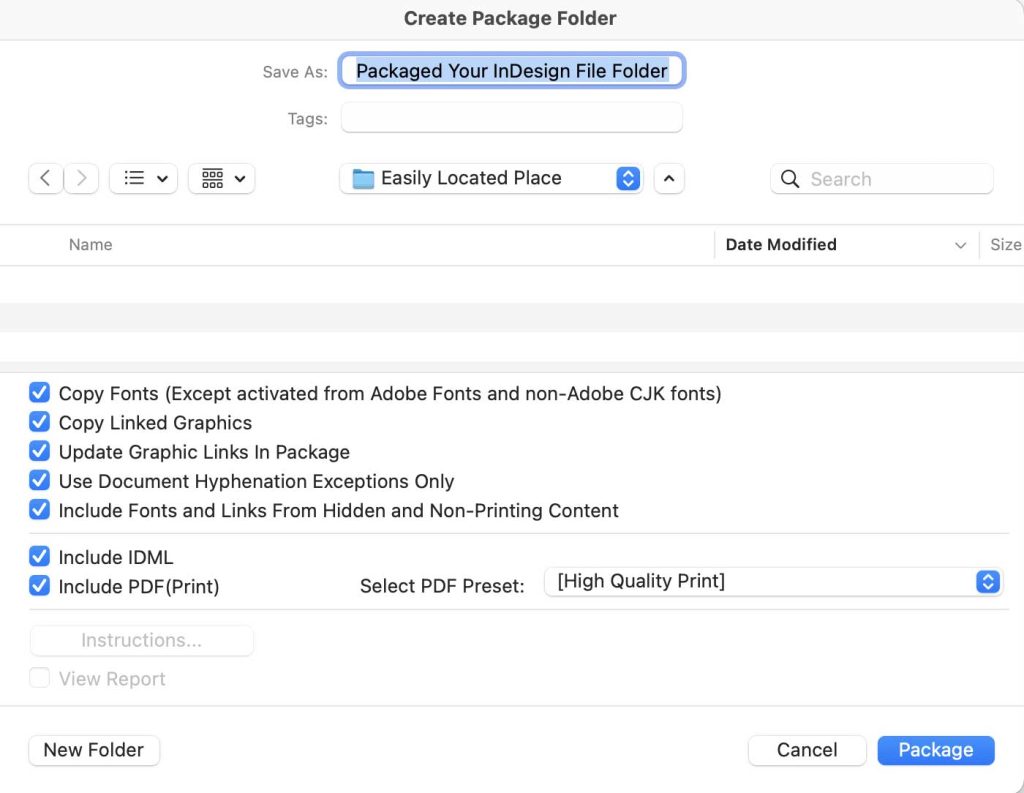
Packagebutton - Please ✓ check all of the available check boxes, find an easily found location on your computer to save this folder, click on the
Packagebutton at the bottom to begin packaging your file into a folder containing all elements needed for printing (such as fonts and graphics). - Once complete, please locate the folder InDesign just made. Please compress this folder to a .zip file and send it to us for printing. Mac: Locate your packaged folder and right click and choose “Compress”
Windows: Locate your packaged folder and right click. Choose “Send To”. Then choose “Compressed (zipped) Folder”.